- /
- /
Avatar
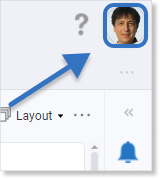
In the Firmao system, each user has an individual user icon — avatar. It is located in the upper right corner of the screen.
How to set the avatar?
Depending on the user’s preferences, we can set a photo we uploaded or leave initials as an icon.
The avatar will be visible:
- in the upper right corner of our screen;
- to other users on the chat list (on the right side of the screen);
- in the user list view.
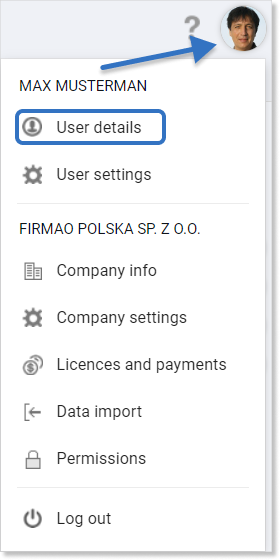
To upload a photo, click the avatar icon in the upper right corner of the page and then select “User Details” from the drop-down list.
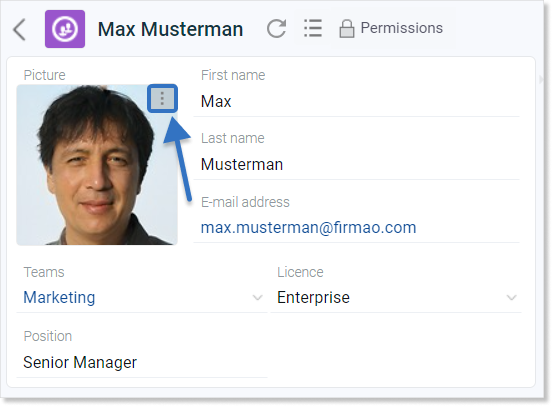
Then we click on the three dots icon, which will be visible when we move the mouse over our current avatar. The dots icon will appear in its upper right corner.
A new window will appear in which we can add our new avatar by clicking the paperclip icon. Then a new window with access to the files on our computer will be displayed. We select the photo and click the “Open” button.
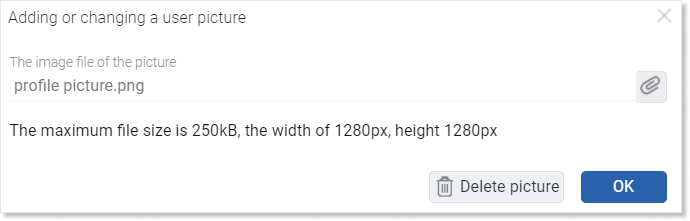
Important! The maximum file size is 250kB, width 1280px, height 1280px.
To save the photo in the system, we need to click the blue “OK” button, which can be found in the lower right corner of the window.
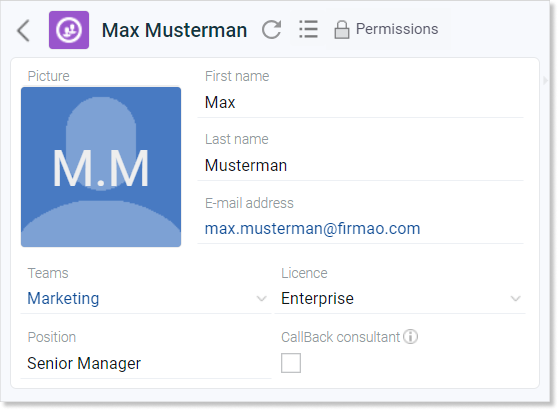
Avatar view in user details when we have set initials:
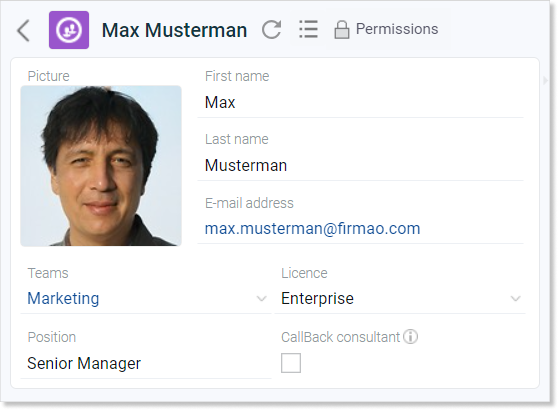
Avatar view in user details, when we upload a photo:
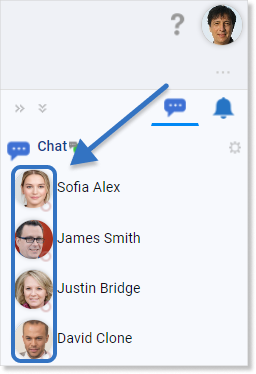
Avatar view in the chat list
Important! Chat and the user’s avatar in the chat list will only be visible when we have a Professional, Enterprise or Supreme license.
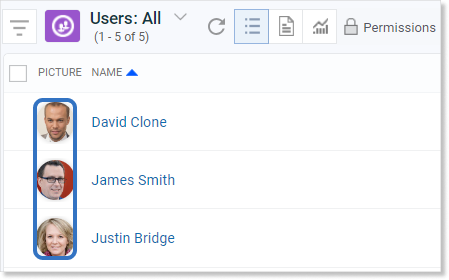
Avatar view in the User list
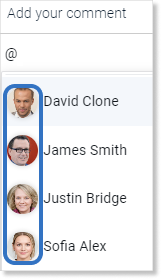
Avatar view when adding a comment
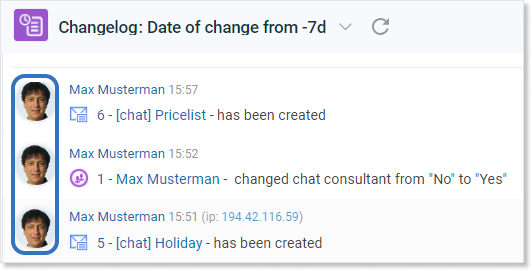
Avatar view in the Changelog module
List appearing after clicking on the avatar
By clicking on the avatar icon, which is located in the upper right corner of the screen, we can access many functionalities, such as:
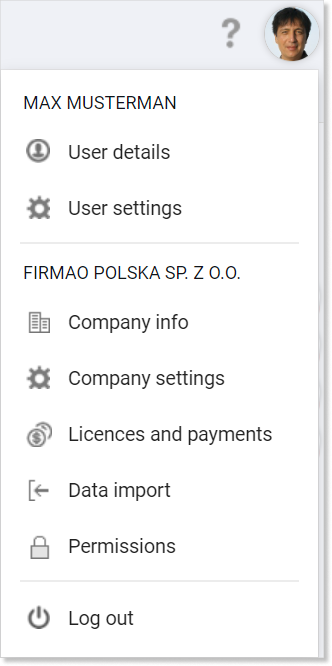
- User details — here we edit user data,
- User settings — here we can customize the appearance of the system, set notifications, choose language of the system, set integration with the printer or the number of objects on the lists,
- log out — we leave the system by logging out safely and protecting our data,
Important! The rest of the instruction is intended only for the system administrators.
- Company’s info — here we can complete information about the company, such as VAT identification number, Business Registration No., registered office address, etc.; we can also add a bank account and cash registers with different currencies,
- Company settings — in this window we can modify the visibility of available modules, e.g. we can enable working time records, add a warehouse, set automation, adjust invoice templates and much more,
- Licenses and payments — panel for managing license payments,
- Data import — we can import data saved in a CSV file,
- Permissions — we can set which user can see which system functions.