- /
- /
Automations in the system
Important! The following instruction is intended only for system administrators, who have Enterprise or Supreme license and API.
In the Firmao CRM system, it is possible to configure various types of business process automations. For this purpose, we will use periodic and immediate actions. Using automation eliminates many tedious and manual processes and additionally saves employees’ time.
Where is the Automation module located in Firmao CRM?
To find the automation module, we need to click on avatar in the upper right corner of the page, and then select “Company settings”.
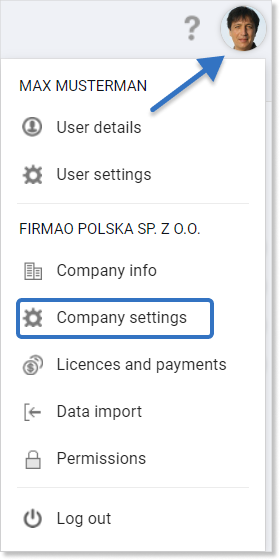
In the newly opened window, click on “Automation” from the list on the left side of the screen.
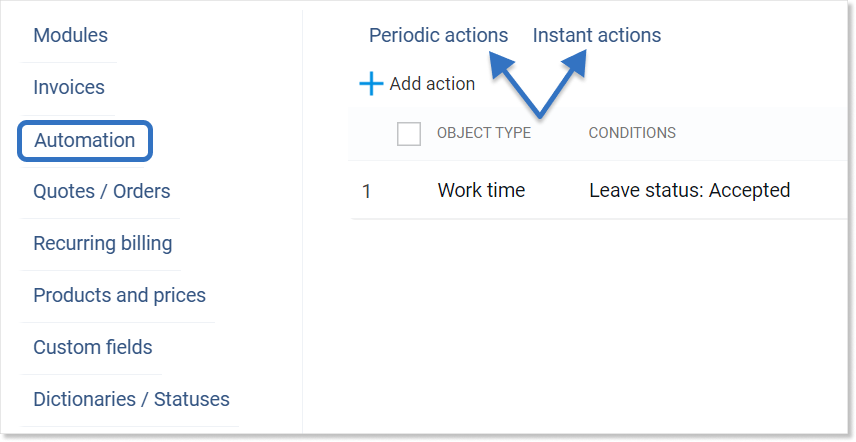
There are two types of automation available in the system:
- periodic actions;
- instant actions.
Important! Periodic actions are executed once a day around 1 or 2 p.m. after meeting the condition specified by us.
Instant actions are executed right away after meeting a given condition.
How to configure a periodic action?
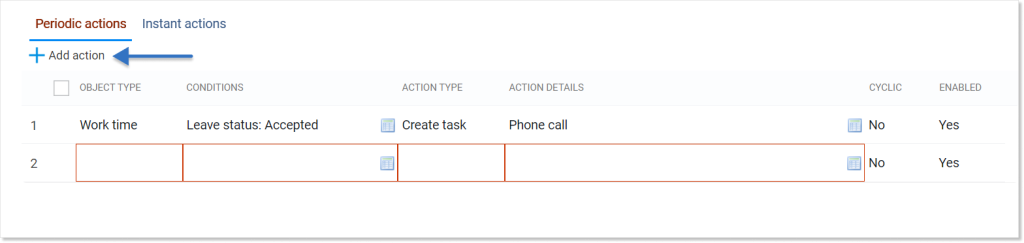
To configure new or edit current automation, we need to choose the type: Periodic actions, and then click on the “+ Add action” button from Automation view in “Company settings”. After clicking the button, a line regarding the new action will be automatically added.
Below we will describe the configuration of the periodic action that will be triggered
when an invoice is unpaid and 2 days past due.
Once the condition is met, an e-mail requesting payment will be automatically sent to the customer.
To configure a given action, we need to complete the following in each line:
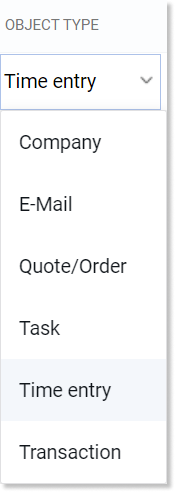
- Object type, to which the action being created is to apply (available objects are: work time, invoice, company, quote/order, email, task). We have different conditions for each type of object.
- Conditions, which the chosen object type must meet for the given action to be triggered.
After clicking on the conditions’ column in the system, an additional “Edit action conditions” window will open. To add a condition, we need to click on the “+ Add condition” button, and then select the field and value.
In the given example, we set the following conditions:
Condition 1. field: Paid, value: No;
Condition 2. field: Due date, value: 2 days after;
Condition 3. field: Due date, value: 14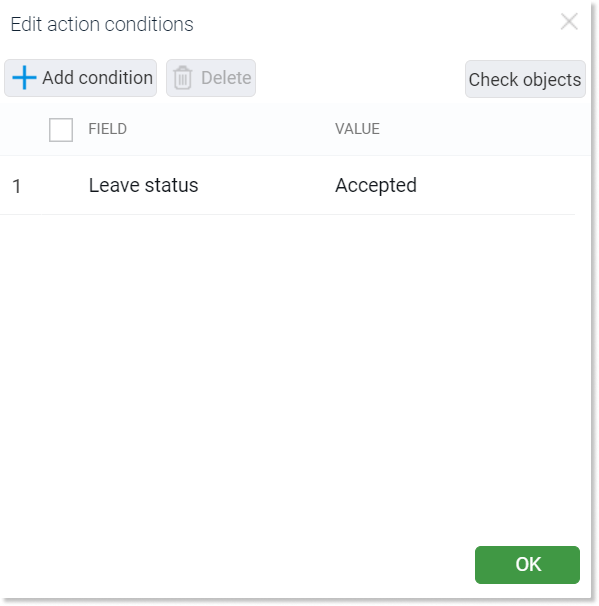
To save the changes, click the blue “OK” button located in the lower right corner of the window.
Tip: We can choose many conditions, to create more extensive automations.
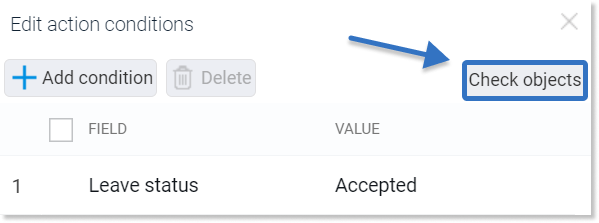
After setting the conditions, we can see the objects that meet them. For this purpose we need to click “Check objects” in the upper right corner of edit action conditions window.
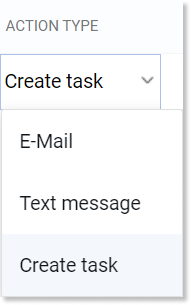
- Action type — here we need to select the action from the drop-down list (for invoice: e-mail, text message, create task, delete object) that will happen when the condition or conditions are met. Action types vary depending on the selected object type.
Important! In order to send e-mails/text messages, we must have configured mailbox, or SMS.
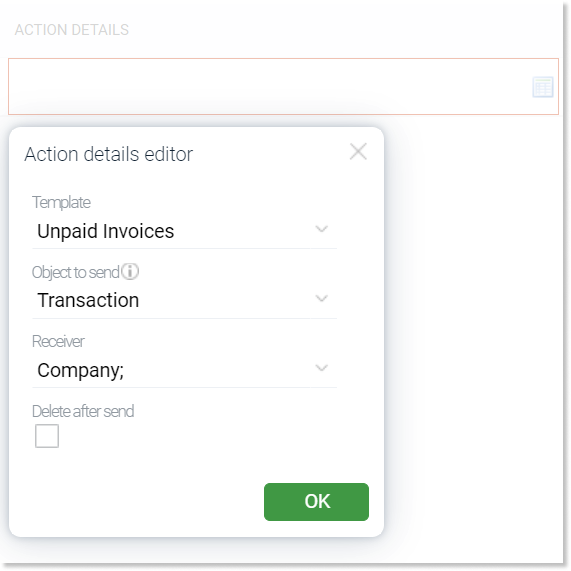
- Action details determine what values the object created in the system should take. In the presented example, we will have the opportunity to select a previously defined e-mail template, object to sent (in our example, the object is an invoice sent as an email attachment) and receiver. We can also click the “Delete after send”, checkbox thanks to which the sent e-mail will be deleted from the system (we can still see it using filters, by clicking the three dots icon at the end of the list and selecting an option “Deleted” or “All” in the field Show).
- Cyclic — here we can determine whether our action should be repeated. We use this option when the condition contains a date. The cycle will be as long as the number set in the condition (in our example the condition is 2 days after the payment date for the invoice object. The payment date of the checked object is May 16, 2023. With cyclicity enabled, this object will meet action conditions on May 18, 2023, May 20, 2023, etc.).
After completing the configuration of the periodic action, we need to save the changes by clicking on the “OK” button, which is located in the lower right corner of the view.
How to configure an instant action?
Default instant actions are already defined in the newly created account in the Firmao system. Adding and editing instant actions is very similar to periodic actions, the only difference is the trigger that determines when the instant action will be executed.
To configure new or edit the current automation, from Automation view in “Company Settings” we need to choose Instant actions and then click the “+ Add action” button. After clicking on the button, a line regarding the new action will be automatically added.

Below we will describe the configuration of the immediate action that will be triggered
when we create a company with the „Potential” status.
Once the condition is met, the system will automatically create a sales opportunity assigned to this company.
- Trigger — here we need to define an event that will trigger the action.
To do this, we need to click on the field in the trigger column and from the list we can choose: “any operation on object”, “object creation”, “object creation or deletion”, “object creation or modification”, “object deletion”, “object modification”, and “object modification or deletion”.
For our example, we will choose “Object creation”;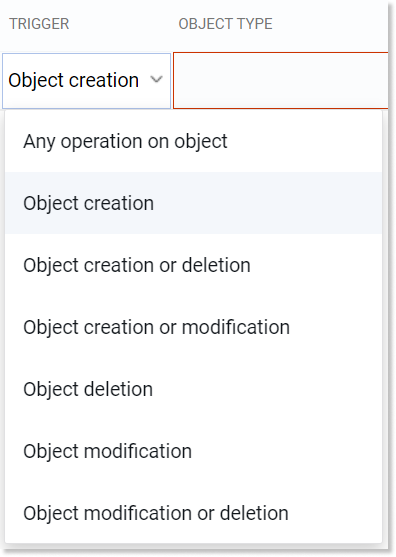
- Object type — the list includes the following items: “agreement”, “company”, “business”, “deal”, “e-mail”, “note”, “project”, “quote/order”, “task”, “work time”, and “invoice”.
We have different conditions for each type of facility.
For our example, we will choose object type: “Company”.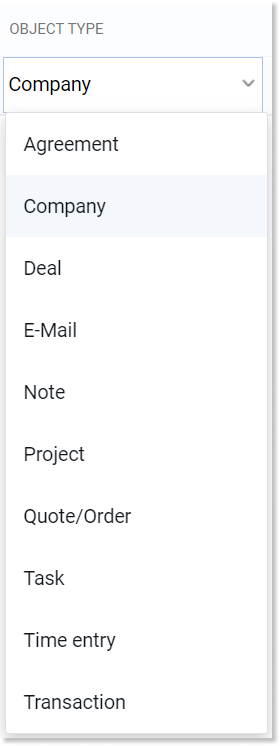
- Conditions — after clicking on a field in the conditions column, a new window “Action conditions editor” will open. To add a condition, we need to click the button: “+ Add condition”, and then complete field and condition, which must be met for a given action to be performed.
Depending on the object type, there are different fields and conditions to choose from.
In our example we choose the field “Status”, and then in the “Condition” column we choose the operator “is equal to” and value “Potential”. We save the changes using the blue “OK” button in the bottom right corner;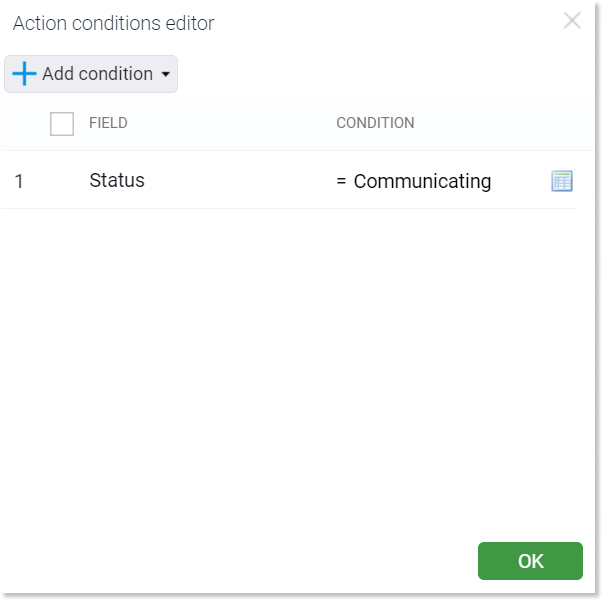
- Action type — we select from the drop-down list the action that will happen when the condition or conditions are met. Action types vary depending on the selected object type.
For our example, we choose “Create deal”;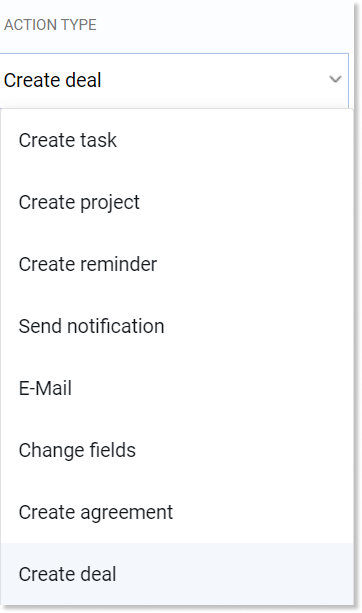
- Action details — in this window we complete detailed information for the type of action that will be performed. Action details vary depending on the action type selected;
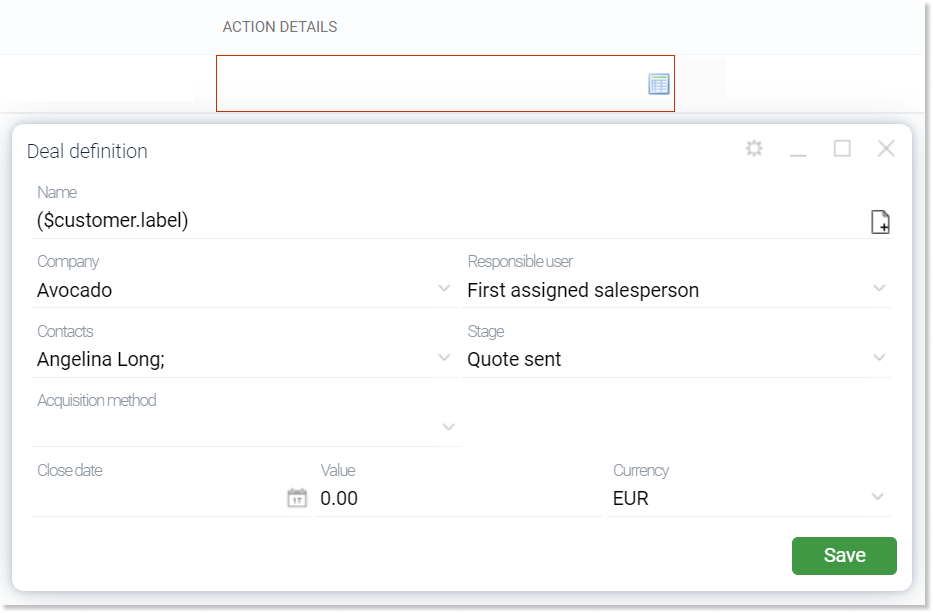
In our example we define what automatically generated deal we want to set by completing, among others: name of the deal, company, responsible user, stage.
In our example we define the details of the deal that will be created automatically. We complete the name of the deal where the field code “($customer.label)” will be replaced with the company name when the deal is created. To insert a new field code, we need to click the document icon with a plus sign on the right. The remaining fields, i.e. company, responsible user, stage and acquisition method, are completed by default. We can edit the values in these fields by clicking on the field. To save the data, we need to click the blue button “Save”.
After configuring the immediate action, we need to save the changes by clicking on the “OK” button, which is located in the lower right corner of the view.
How to create actions based on an already existing ones?
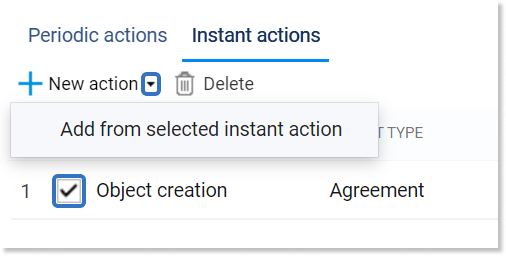
In automation, we can create an action based on an action already defined in the system. To do this, we need to go to the periodic or immediate actions from the automation view. Then we need to select the action we want to copy by clicking the checkbox on the left, clicking on the arrow next to the “Add actions” button and then choosing “Add based on selected action”. The newly created action will appear on the list.
To create an action based on an existing one, we need to click the periodic actions or instant actions from the “Automation” menu on the left and select the action we want to copy from the list. We need to select the checkbox located to the left of the action name, then click the arrow next to the button: “+ Add action” and choose “Add based on selected instant action”. The newly created action will appear on the list.
How to turn off the automations?
To disable automation we need to click on periodic or instant actions tab from the “Automation” menu on the left. In the “Enabled” column, we need to select the “No” option from the drop-down list.
If we want to enable this functionality, we will not need to configure it again. Just click on the “Yes” option.

How to delete automations?
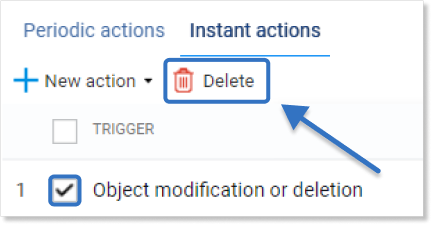
To delete an action, we need to select the checkbox next to the action in the automation view. Then in the upper left corner of the window, next to the “Add an action” we need to choose the “Delete” button and confirm deletion.
To remove automation, we need to click on periodic or instant actions tab from the “Automation” menu on the left. Click on the checkbox next to the name of the action we want to remove. Then in the upper left corner of the window, next to the “+ Add action” button, we need to click on the “Delete” button.
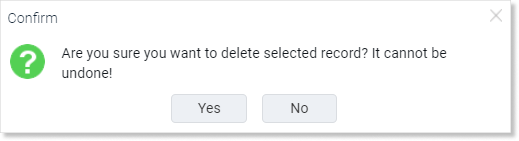
A new notification window will then appear “Are you sure you want to delete the selected record? This operation cannot be undone!”. To confirm the removal of automation from the system, click the option “Yes”.