- /
- /
Tags
In the Firmao system we can define labels (tags) for a given type of objects e.g. companies, e-mails. Tags allow us to group data according to specific criteria.
Step 1: Adding a tag
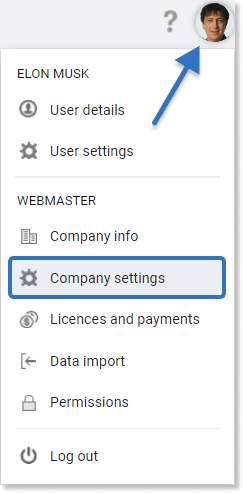
Tag configuration can be found in company settings, which we select after clicking on avatar.
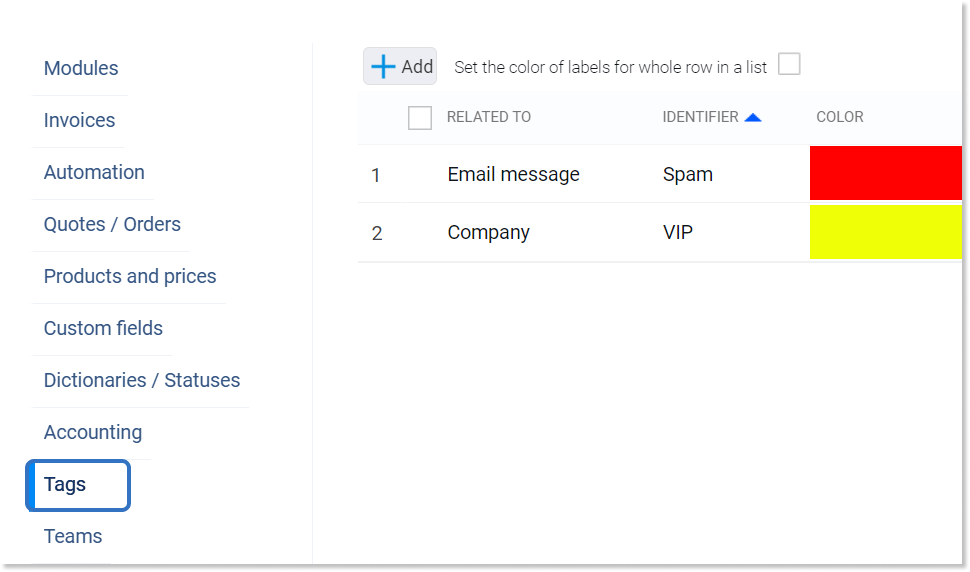
A new window with the “Tags” tab on the left will open. To add a new Tag, click: “Add”.

The window “Adding new tag” will open, where we define:
- ID — tag name,
- Description,
- Type of the object for which this tag will be (e.g. company, task),
- Color.
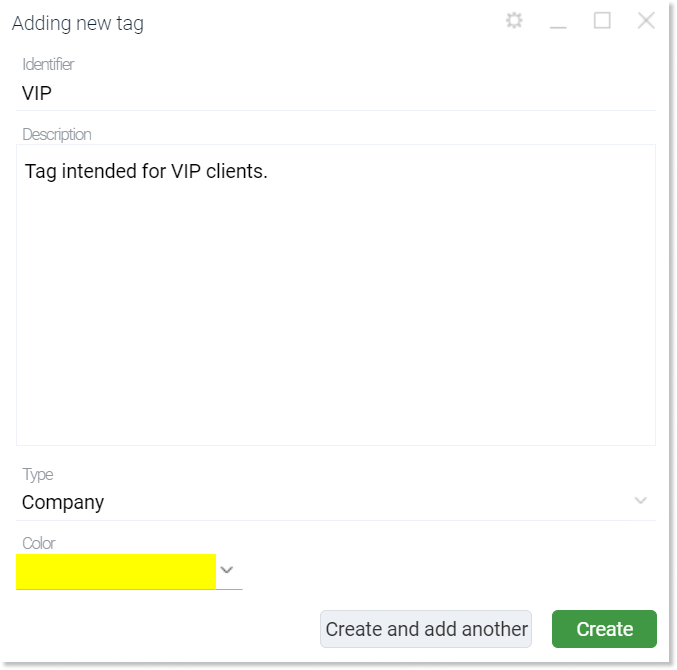
When we configure the tag in the lower right corner, we need to save the changes by pressing the “Create” button.
Additionally, the system also allows us to let the tag set the color of the entire row in the list view. To do this, we need to select the checkbox: “Set the color of tags for the whole row in a list”, which is located next to the “Add” button.

Then, in the lower right corner of the tags view window, confirm the changes with the “OK” button. The system will automatically refresh the browser page.
Step 2: Defining and displaying the tags
Tip: Depending on the type of module for which we have defined a tag (e.g. for a company) we can specify which specific companies we want to give it to. To do this, we need to click on any selected company. Then the “Tag” field will appear in its details.
To display the available tags for a given module, we need to expand the list in the “Tags” field. To assign it, we have to select the checkbox next to the tag’s name.
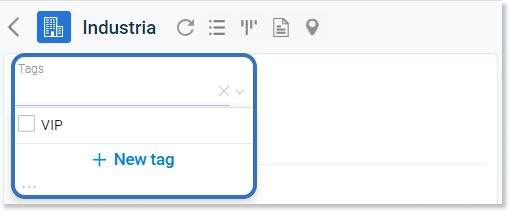
After expanding the tag list, system administrators also have the option to add a new tag from there.
After clicking on the “New tag” a window “Adding new tag” will appear (configuration similar to step 1).
Detail view of a given object’s tag looks like this:
The list view of a given object depends on whether we set the tag color for the entire row of the object in the previous steps.
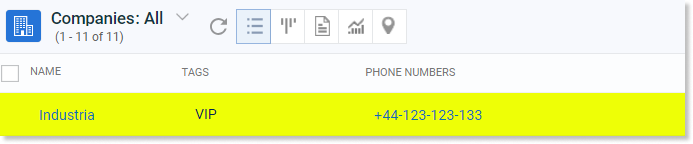
This is what the company view looks like when we select the option to set the color of tags for the whole row:
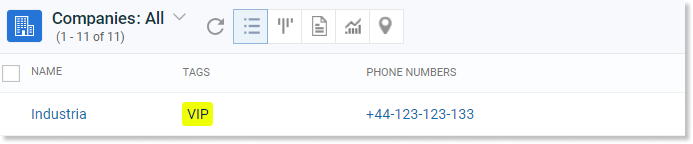
This is what it looks like when we have not checked this option. In this case, the tag will only be visible in the “Tags” column:
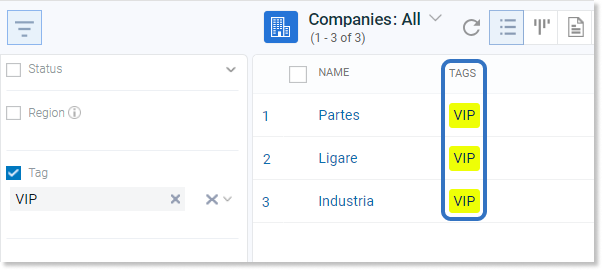
Step 3: Filtering and sorting data by the tag field
In the system, we have the option of filtering and sorting by tags created in the system. Filters tab is on the left side of the screen.
Step 4: Removing the tags
To remove a given tag, we need to go to the tab: Tags, which we select after clicking on avatar, and then Company Settings.
Here we can select the tag we want to remove with the checkbox , and then press the “Trash can icon”:
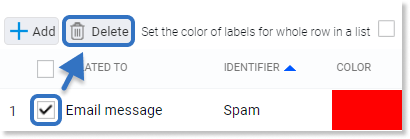
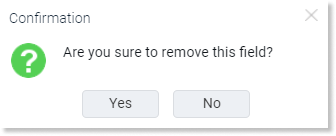
A message confirming the deletion will appear, and after clicking “Yes”, the tag will be removed from the system.