- /
- /
Advance and final invoices
In the Firmao CRM system, we can create advance, and then final invoices. To add an advance invoice, we need to select the “Invoices” module from the menu and then click the green “Add” button, located in the upper right corner of the window.

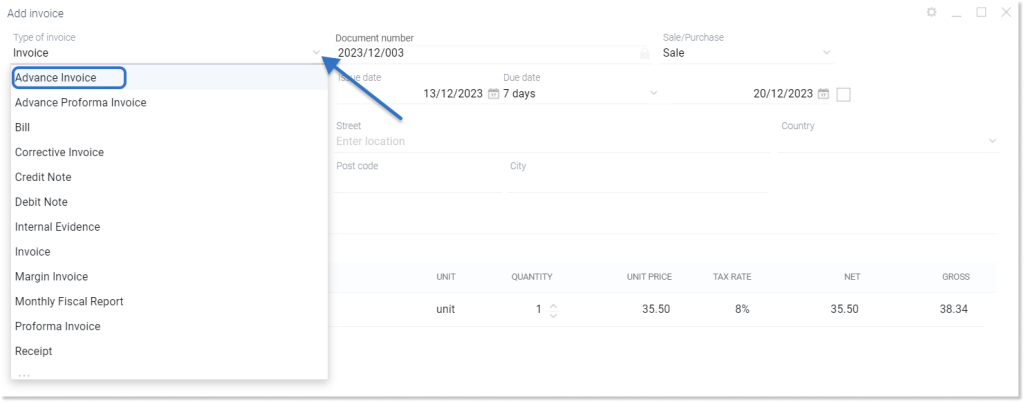
Then the adding an invoice window will open. We need to select “Advance invoice” from the “Invoice type” drop-down list in the upper left corner of the window.
Then we have to complete the remaining necessary fields. They have been described here.
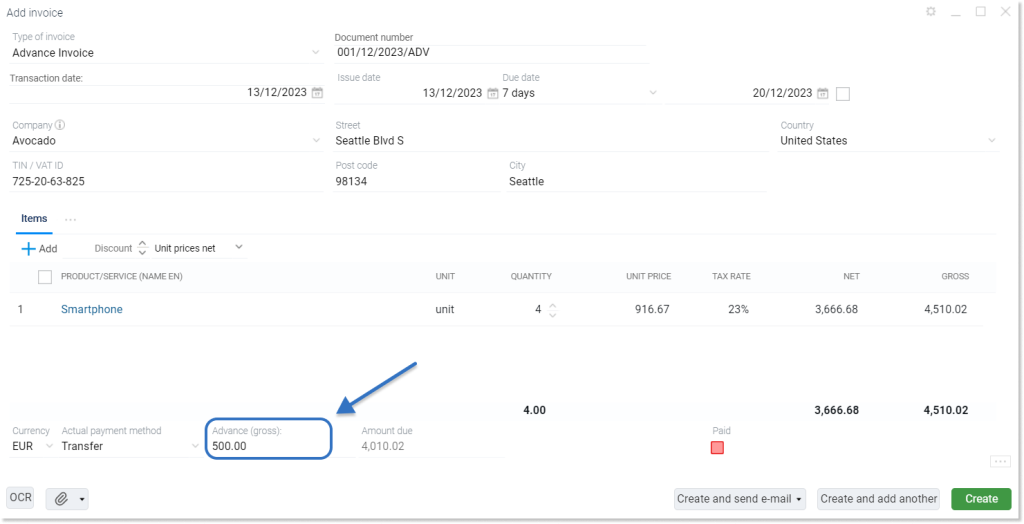
In the “Advance” field, we need to enter the amount paid (gross). When we complete all the information, we have to click the green “Create” button in the lower right corner of the window.
Important! When adding transaction items to an invoice, we must make sure that the gross summary is the full amount for a given order.
How to add another advance invoice?
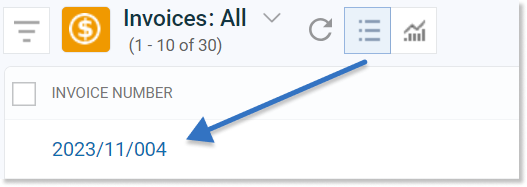
When we have already created the first advance invoice and want to add another one, we must go to the detail view of the document we have already created
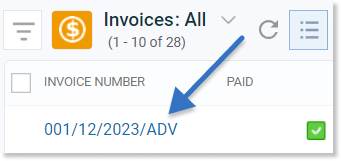
or click the checkbox next to the name of this invoice.
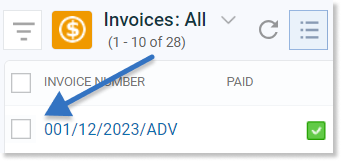
Then we need to click on the arrow 

Then, a window for creating a new invoice will be displayed, which will take the data from the previous advance invoice. Invoice items are not editable (such as the unit price of the product or the amount of VAT). We need to enter the amount of the next advance payment and click the green “Create” button in the lower right corner of the window.
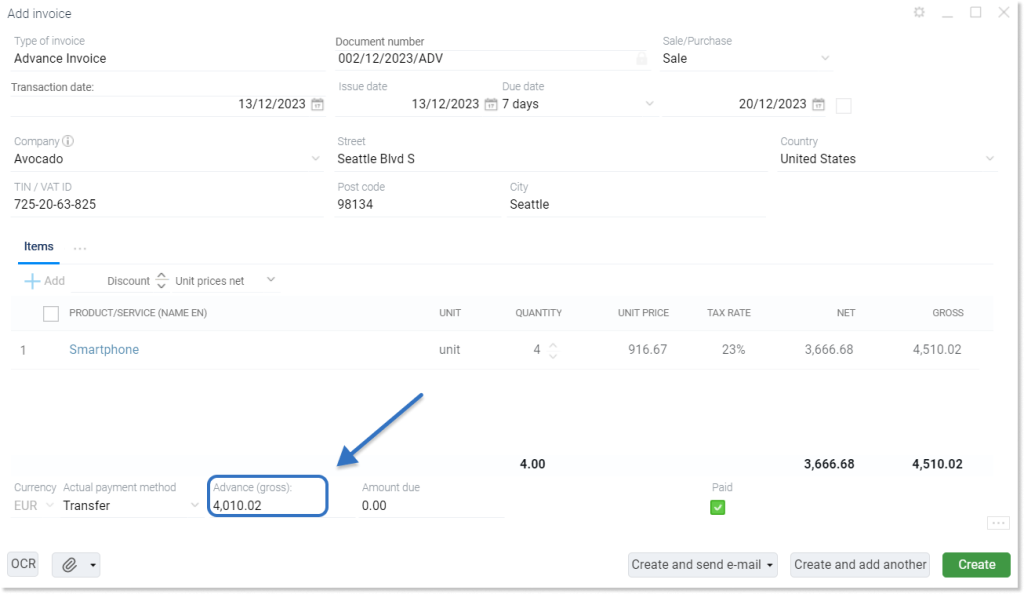
Tip: When creating a second advance invoice, the advance payment will be calculated automatically by the system, subtracting the amount of the previous advance payments from the total payment amount.
How to create a final invoice?
If we have advance invoices, we can create a final invoice. To do this, we need to open the detailed view of the last advance invoice or select the checkbox next to its number in the invoice list view, as shown above for advance invoices.
Then, from the toolbar in the upper right corner, we need to choose “Final invoice” or “Proforma final invoice”.

We select the final invoice by clicking the ![]() icon on the toolbar. However, we select the proforma final invoice from the drop-down list, which will appear after clicking the
icon on the toolbar. However, we select the proforma final invoice from the drop-down list, which will appear after clicking the
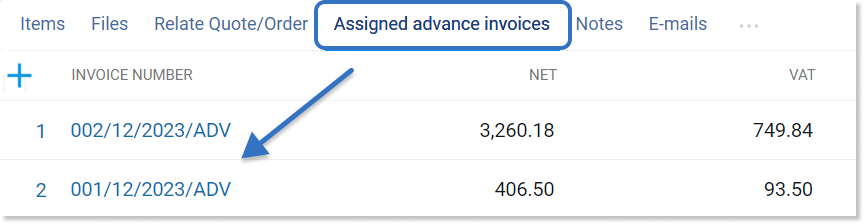
How do I view assigned advance invoices?
Once the final invoice has been created, a tab “Assigned advance invoices” will be available in its detail view. It will provide a preview of advance invoices related to a given final invoice.