- /
- /
Adding company’s logo
Important! This instruction is intended only for administrators of the entire system.
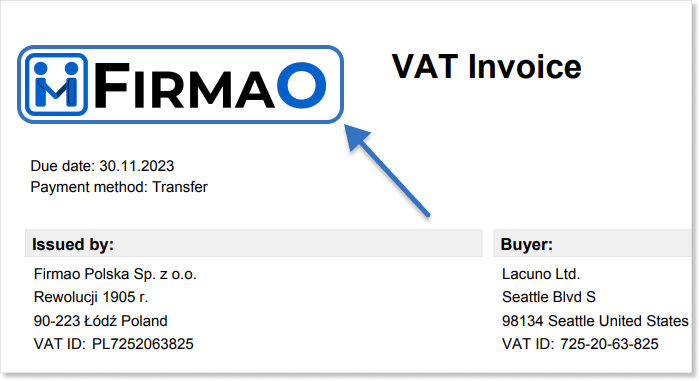
In the Firmao system, we can add our company’s logo, which will be displayed in the system interface in the upper left corner and on documents issued in the system.
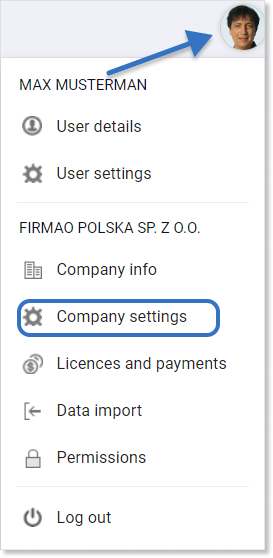
To add a company logo to our account, we need to go to Company settings. This tab can be found in the upper right corner of the screen after clicking on avatar.
In the company settings, go to “Other”. To add a company logo, click on the “Add company logo” button.
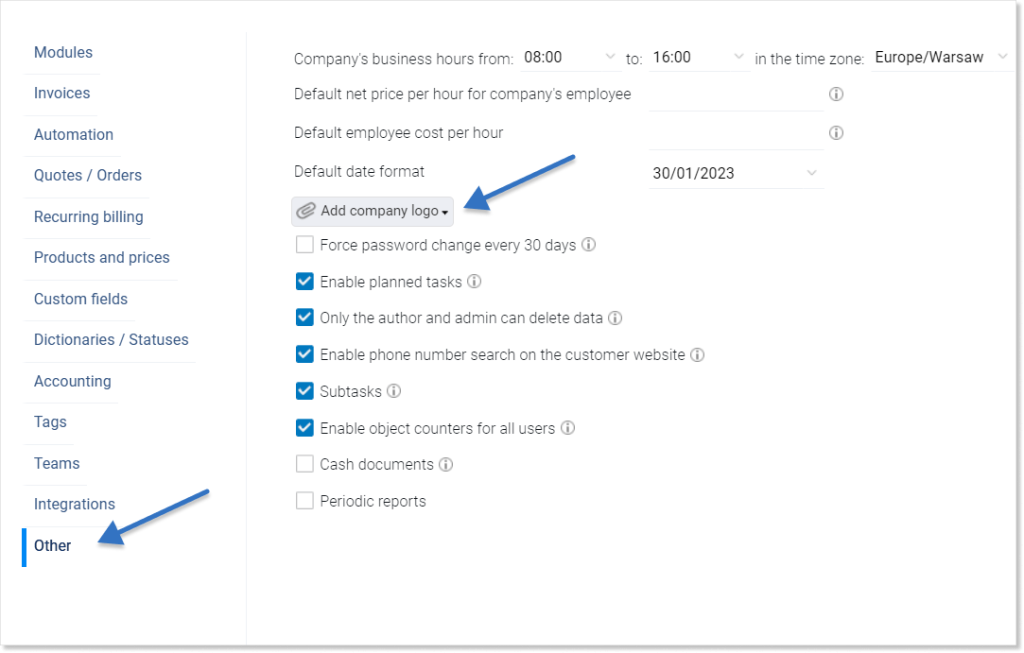
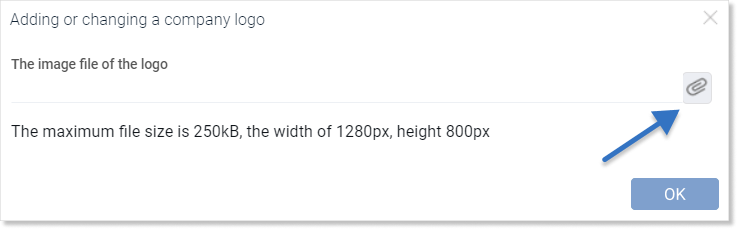
Then a window with logo guidelines will be displayed, in which with the use of a button with the paperclip icon ![]() we will be able to select the graphic file that we want to place in the system as our company logo.
we will be able to select the graphic file that we want to place in the system as our company logo.
Tip: If we have a logo uploaded in the system, we can delete it by clicking on “Change company logo” and selecting the “Delete company logo” option.

To save the changes, we need to press the “OK” button located in the lower right corner of the screen.
The logo we added can be visible in the upper left corner of the Firmao system.

To do this, select the checkbox next to the option “Show logo in app header”, which becomes visible after uploading the file.
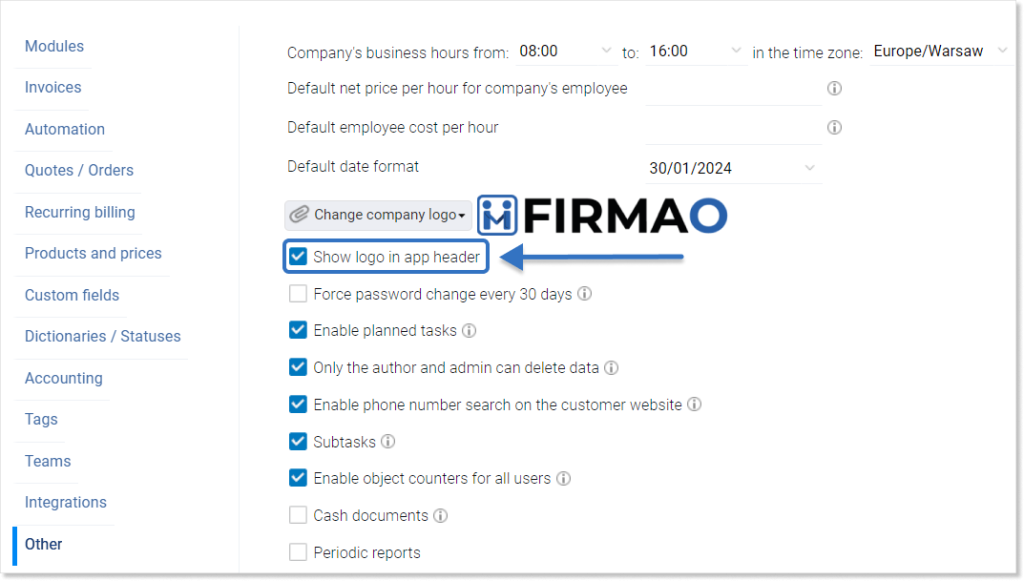
After adding the logo to the system, click the blue “OK” button, which can be found in the lower right corner of the window.
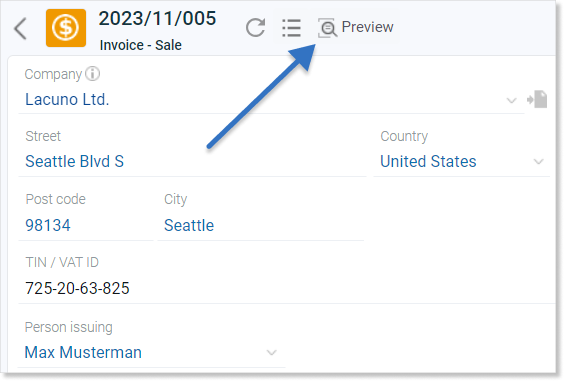
The logo will also be displayed on invoices, offers, orders, and warehouse documents generated by us. After entering the preview of a selected document, the logo will be visible in the upper left corner.